Free guide
How to Take Before & After Photos That Win Clients
Same spot. Same angle. Same light. 60 seconds. Your phone is enough.
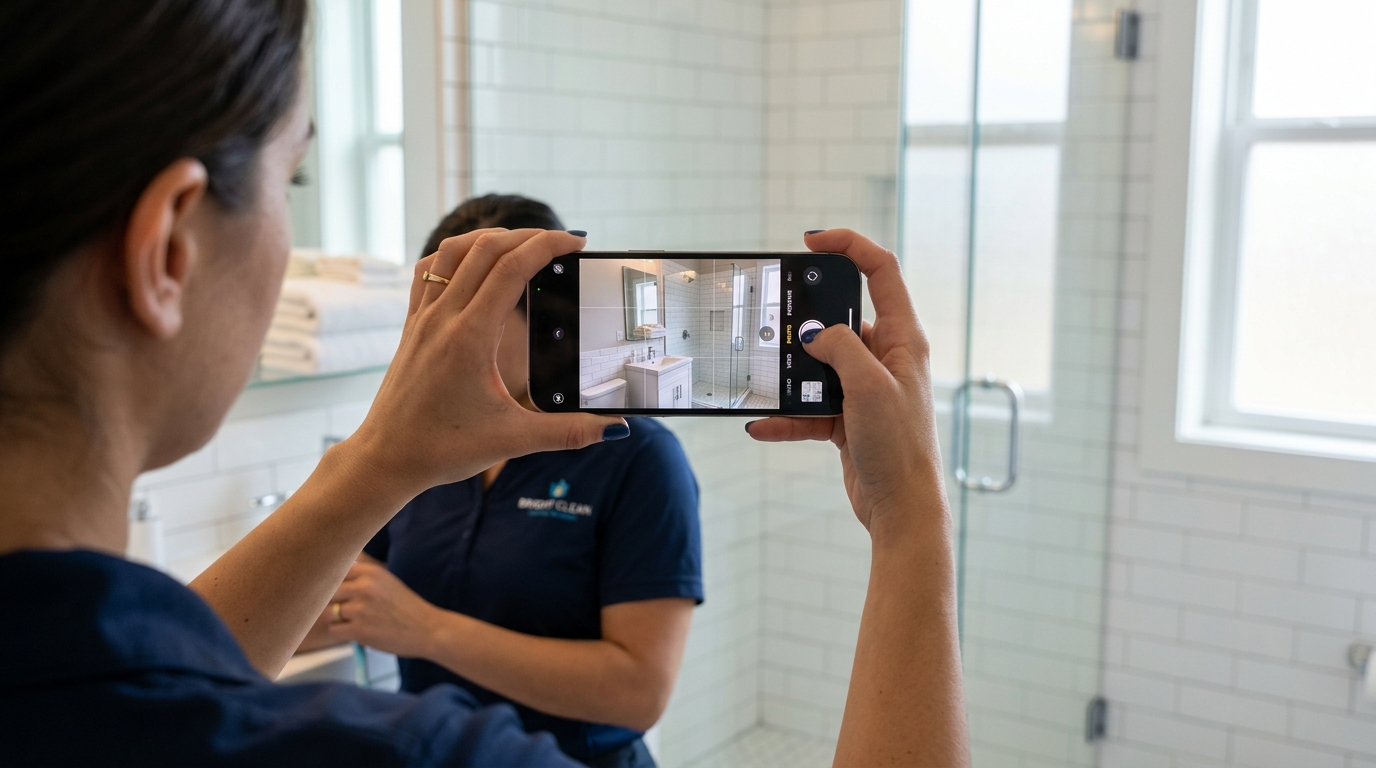
Hold your phone at chest height, use the grid lines, and let the natural light do the work.
The 60-Second Checklist
Do this on every single job. No exceptions. It takes less time than washing your hands.
Before the work
- Wipe your lens with your shirt. Takes 2 seconds, prevents blurry shots.
- Turn on grid lines in your camera settings. iPhone: Settings > Camera > Grid. Android: Camera > Settings > Grid lines.
- Stand at the entry point — doorway, gate, or curb. Where a customer would first see the space.
- Take 3 shots: Wide (full area), Medium (the worst section), Close-up (the gnarliest detail).
- Mark your spot. Note a landmark — corner of a tile, edge of a path — so you can stand here again for the after.
After the work
- Remove everything — tools, rags, buckets, your lunch. Clean the scene.
- Return to your exact spot. Open the before photo and match the angle.
- Take the same 3 shots: Wide, Medium, Close-up. Same orientation (landscape or portrait).
- One hero detail shot — the thing you're most proud of. The crisp edge, the gleaming surface, the perfect line.
The Right Way vs. The Wrong Way
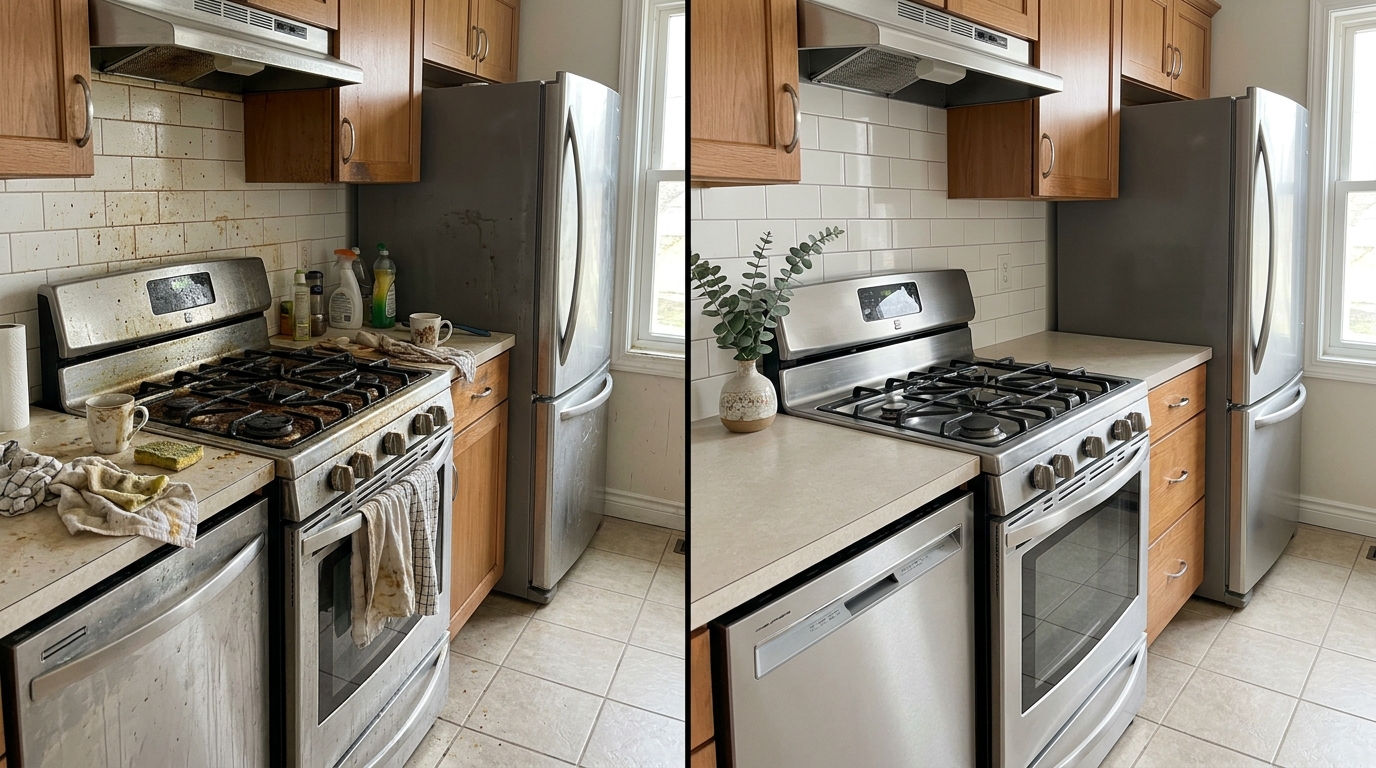
RIGHT: Same angle, same distance, same light. The transformation speaks for itself.
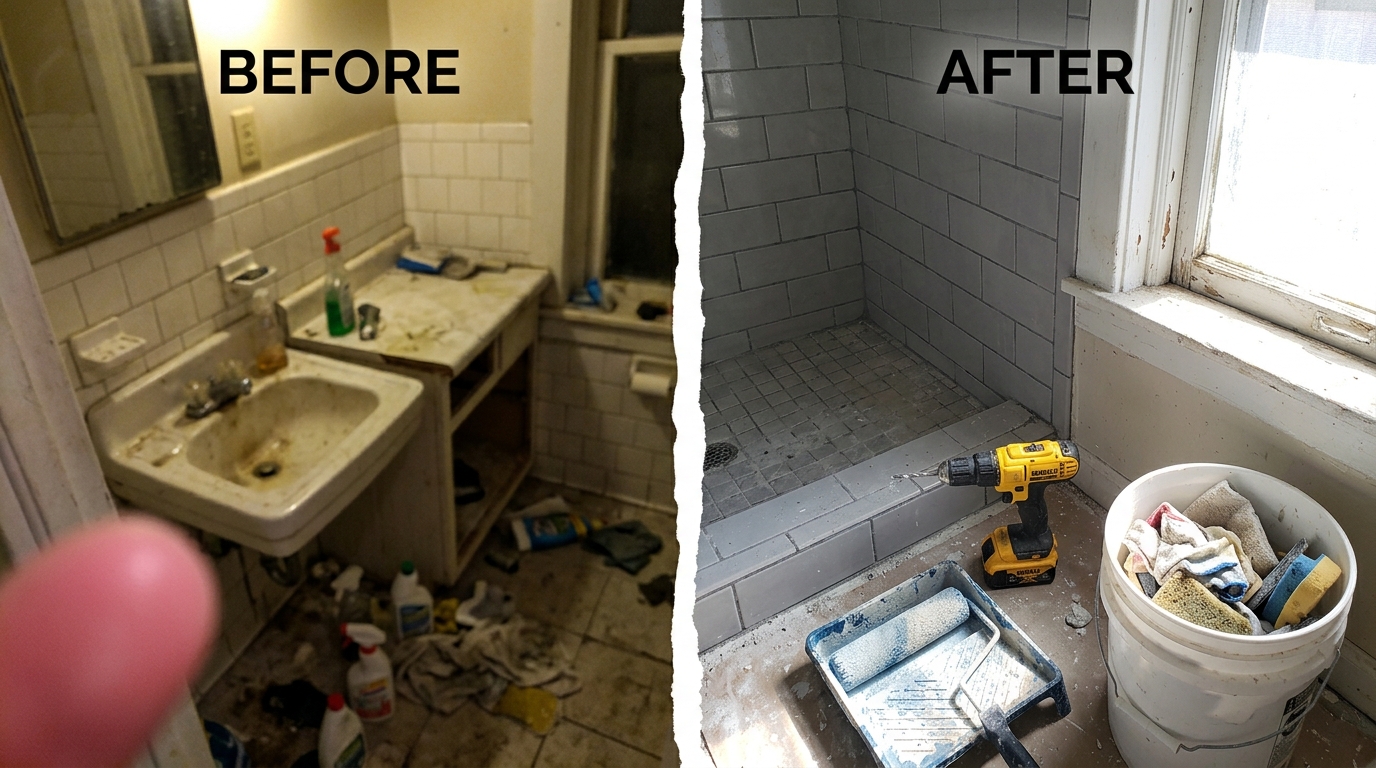
WRONG: Different angles, finger in shot, tools left in frame, mismatched lighting. The comparison is useless.
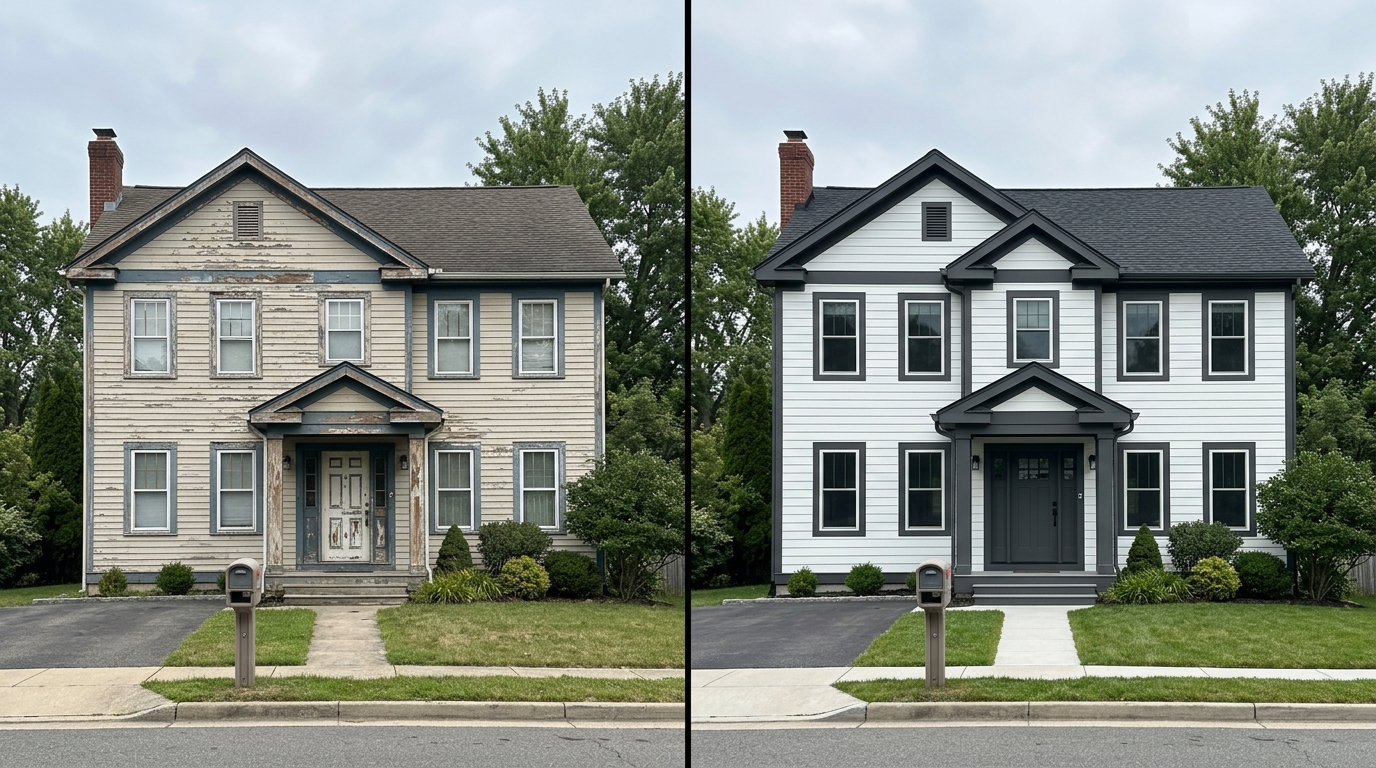
RIGHT: Same position across the street, even light, no cars, full house visible. Clean comparison.
Phone Settings That Matter
| Set once, forget forever | |
|---|---|
| Resolution | Maximum. Always. |
| HDR | ON. Balances bright windows and dark corners. |
| Flash | OFF. Always. Flash flattens everything. Use natural light. |
| Grid lines | ON. Keeps your shots straight and level. |
| Zoom | Use 1x or 2x only. Never pinch-zoom — it destroys quality. |
| Timer | 3-second timer reduces camera shake if you don't have a tripod. |
Lighting Rules
The golden rule: Match the lighting between before and after. A dim "before" and a bright "after" looks fake. Viewers notice.
Indoor work
- Open all curtains and blinds. Turn on all lights. Maximum light.
- Face the window — light should come from behind the camera.
- Never shoot toward a bright window. Your subject will be a silhouette.
- Bathrooms with no windows: turn on every light, prop the door open for hallway light.
Outdoor work
- Best: Early morning or late afternoon. Soft, warm, flattering.
- Good: Overcast days. Even light, no harsh shadows.
- Worst: Midday sun. Harsh shadows, blown-out highlights. Wait for a cloud.
Trade-Specific Tips
Cleaners
- Focus on kitchens, bathrooms, high-traffic areas — most dramatic contrast
- Close-ups of grout, stovetops, shower glass are gold
- Stage the after: fold towels, close toilet lids, straighten cushions
- Let the mess be messy in the before. That contrast is the point.
Painters
- Capture the full wall or room. Include trim and ceiling line.
- Close-up of a corner where two colors meet shows precision
- Shoot along the wall at a low angle to show smoothness
- Exterior: include windows and architectural features for scale
Landscapers
- Shoot from the street — the "curb appeal" angle is the money shot
- Capture edges: where lawn meets path, garden bed meets grass
- Include a fixed reference point in both shots (mailbox, front door)
- Fresh dark mulch against bright green grass = high visual contrast
Personal Trainers
- Same location, same lighting, same clothing, same pose. Every time.
- Natural light facing a window. Avoid overhead gym lighting.
- Front, side, and back as a standard set
- Never manipulate posing to exaggerate results. Authenticity builds trust.
Barbers
- Light from the front — shows texture and shape of the cut
- Consistent plain background for every client
- Same distance, same height, head-and-shoulders framing
- Capture side profile and back — that's where the skill shows
Pressure Washers
- The half-clean shot (one half dirty, one half clean) is uniquely powerful
- Concrete driveways photograph especially well — extreme contrast
- Close-ups of individual pavers showing the clean line are compelling
- Take the mid-job shot. It's your best marketing asset.
10 Mistakes That Ruin Your Photos
- Different angles between before and after. #1 killer.
- Finger or shadow in the frame.
- Forgetting the before shot. Make it step one of every job.
- Portrait for before, landscape for after. Keep orientation identical.
- Tools and gear in the after shot. Clean the scene.
- Over-editing. Cranking saturation on the after destroys credibility.
- Shooting into mirrors and capturing yourself in high-vis.
- Cleaning up the before. Let the mess be messy. That contrast is the point.
- Blurry photos from rushing. Tap to focus. Hold still. Use the timer.
- Ignoring backgrounds. A pristine kitchen means nothing with dirty laundry visible through the doorway.
The One-Line Summary
Same spot, same angle, same light, same orientation. Let the before be ugly. Let the after speak for itself. Take 60 seconds, not 60 minutes.
Got your photos? Turn them into a content pack in 30 seconds.
Get my first pack free